Cant Login to Citrix XenDesktop 7 Studio-
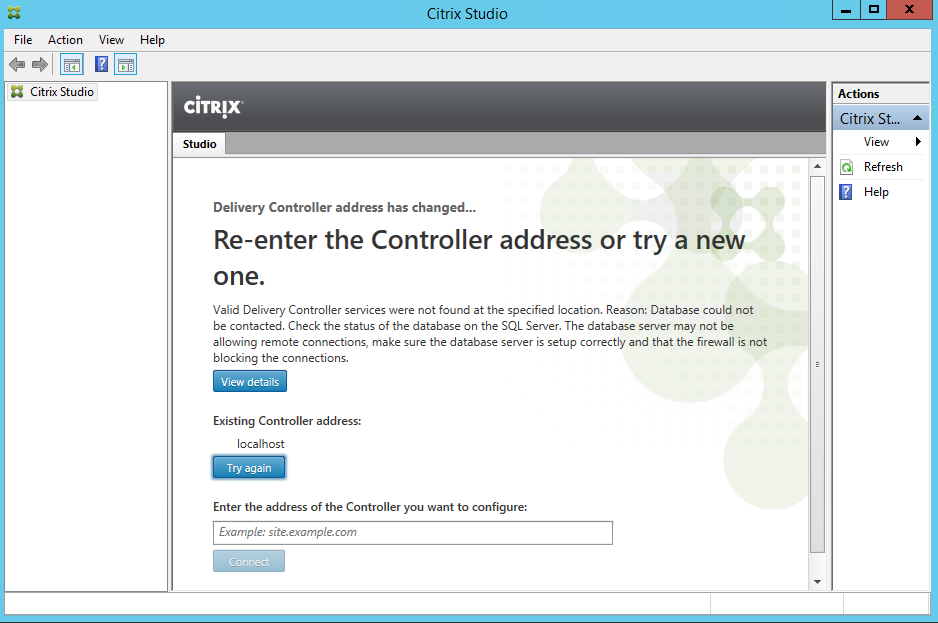
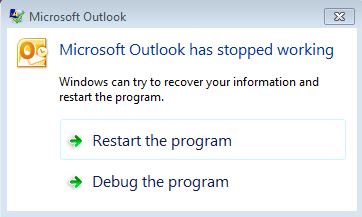
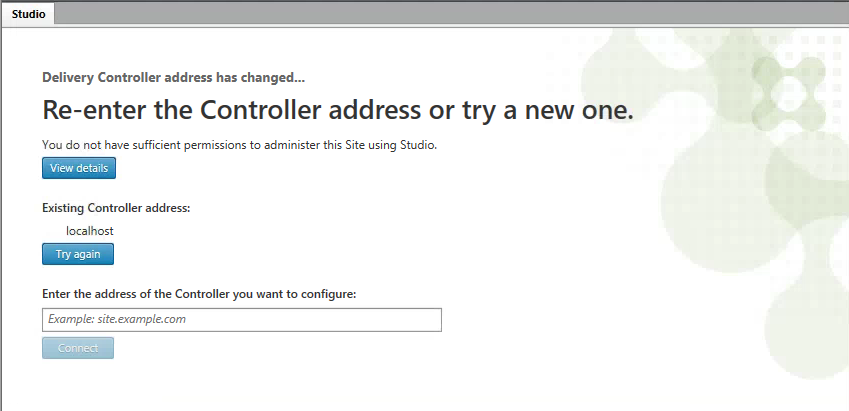
Opening up Citrix Studio users got the following error message when opening Citrix Studio “You do not have sufficient permissions to administer this Site using Studio.”
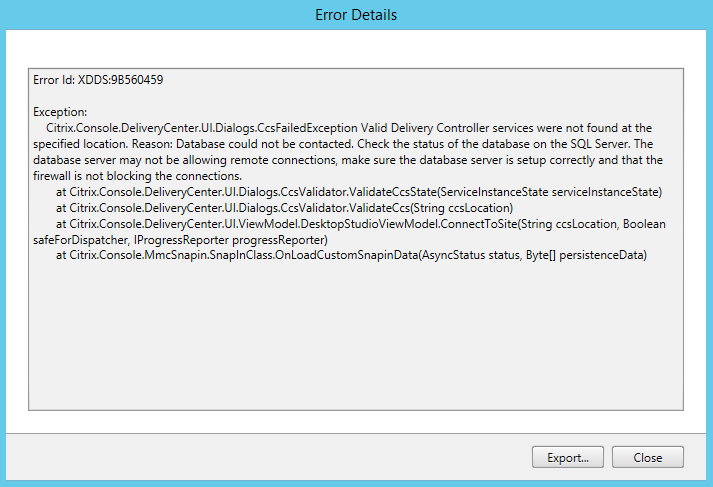
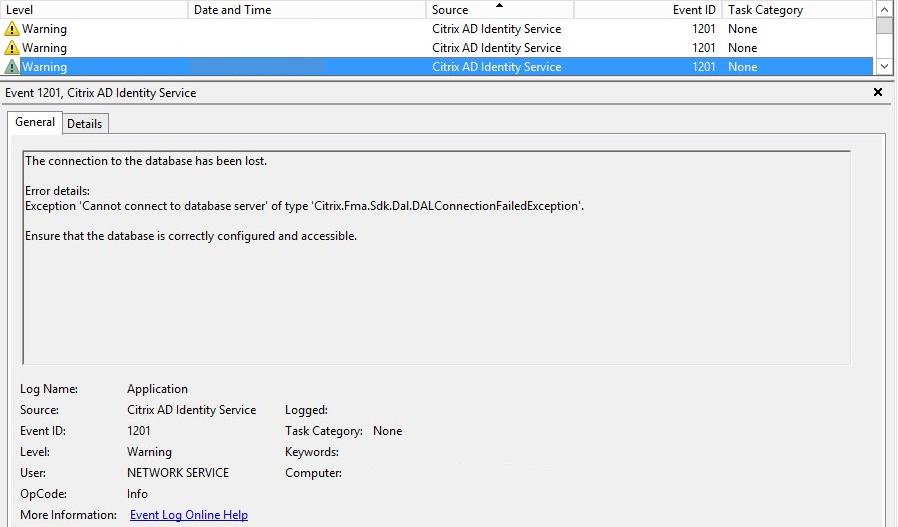
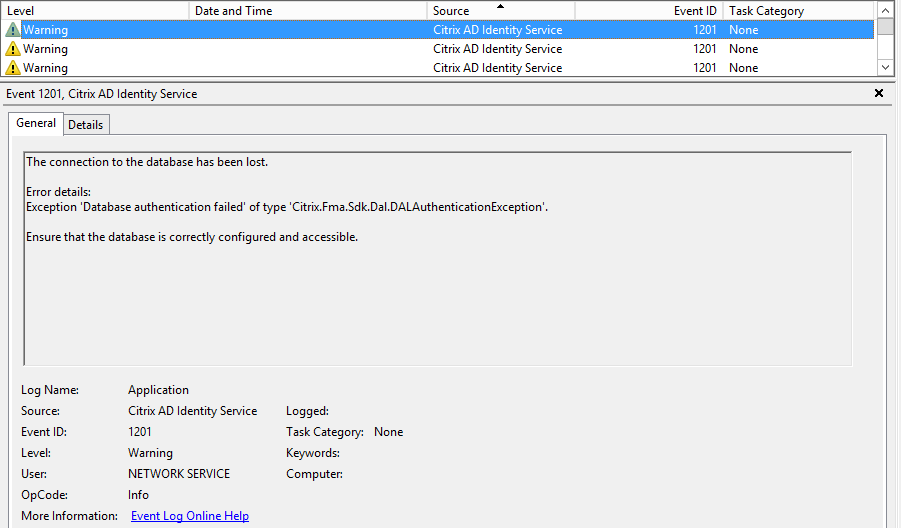
![Failure]() Event logs from the two Citrix Delivery Controllers showed an issue with the Citrix Configuration Service.
Event logs from the two Citrix Delivery Controllers showed an issue with the Citrix Configuration Service.
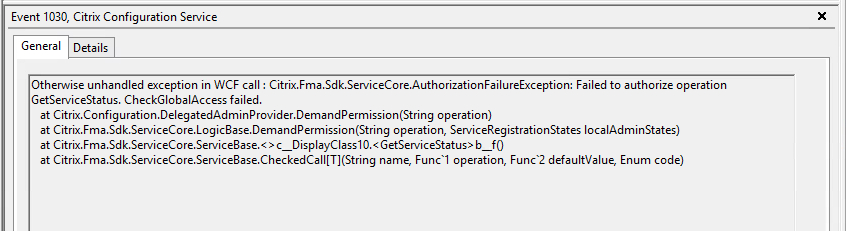
Event ID 1030 Citrix Configuration Service-
Otherwise unhandled exception in WCF call : Citrix.Fma.Sdk.ServiceCore.AuthorizationFailureException: Failed to authorize operation GetServiceStatus. CheckGlobalAccess failed.
at Citrix.Configuration.DelegatedAdminProvider.DemandPermission(String operation)
at Citrix.Fma.Sdk.ServiceCore.LogicBase.DemandPermission(String operation, ServiceRegistrationStates localAdminStates)
at Citrix.Fma.Sdk.ServiceCore.ServiceBase.<>c__DisplayClass10.<GetServiceStatus>b__f()
at Citrix.Fma.Sdk.ServiceCore.ServiceBase.CheckedCall[T](String name, Func`1 operation, Func`2 defaultValue, Enum code)
![Config Server 1030]()
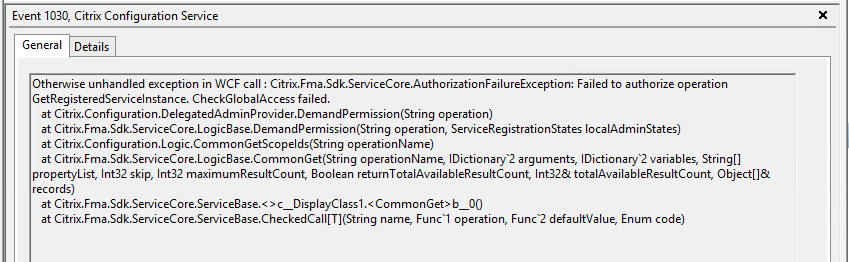
Event ID 1030 Citrix Configuration Service-
Otherwise unhandled exception in WCF call : Citrix.Fma.Sdk.ServiceCore.AuthorizationFailureException: Failed to authorize operation GetRegisteredServiceInstance. CheckGlobalAccess failed.
at Citrix.Configuration.DelegatedAdminProvider.DemandPermission(String operation)
at Citrix.Fma.Sdk.ServiceCore.LogicBase.DemandPermission(String operation, ServiceRegistrationStates localAdminStates)
at Citrix.Configuration.Logic.CommonGetScopeIds(String operationName)
at Citrix.Fma.Sdk.ServiceCore.LogicBase.CommonGet(String operationName, IDictionary`2 arguments, IDictionary`2 variables, String[] propertyList, Int32 skip, Int32 maximumResultCount, Boolean returnTotalAvailableResultCount, Int32& totalAvailableResultCount, Object[]& records)
at Citrix.Fma.Sdk.ServiceCore.ServiceBase.<>c__DisplayClass1.<CommonGet>b__0()
at Citrix.Fma.Sdk.ServiceCore.ServiceBase.CheckedCall[T](String name, Func`1 operation, Func`2 defaultValue, Enum code)
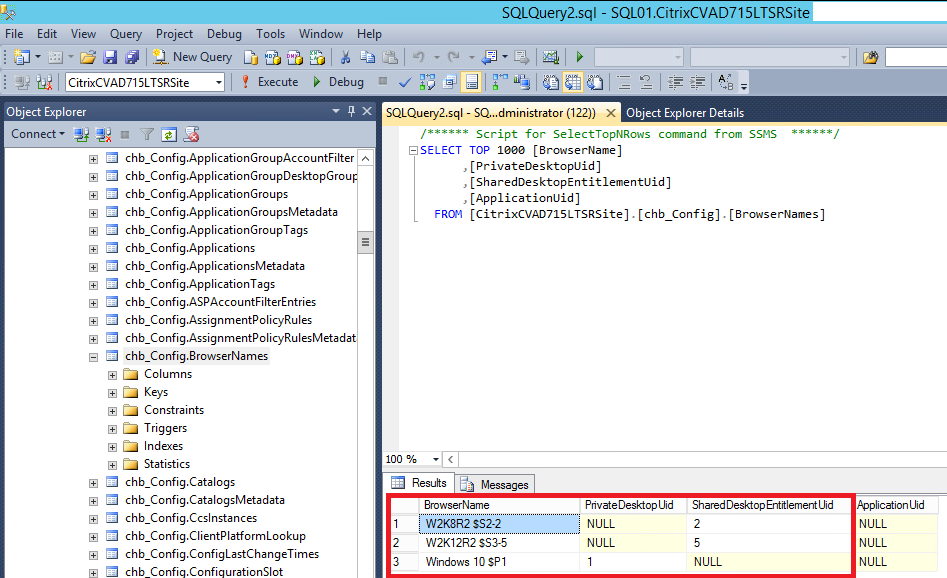
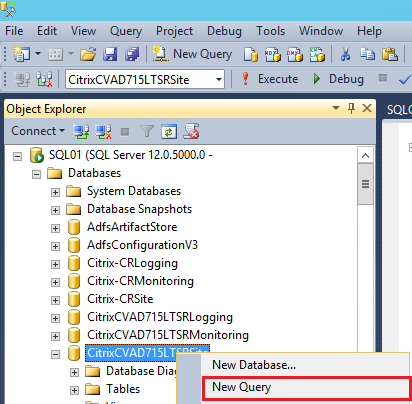
![Event1030]() Troubleshooting the issue, we first verified the SQL Servers, database permissions and ports were open between the Delivery Contollers and SQL servers.
Troubleshooting the issue, we first verified the SQL Servers, database permissions and ports were open between the Delivery Contollers and SQL servers.
Next step was to confirm applications and desktops launched and users were not experiencing issues.
After confirming that the permissions issue was only causing issues when accessing Studio or Director we restarted one of Delivery Controllers and attempted to launch studio again, but still received the same error.
Digging into the issue further I downloaded CDFContol to see if I could find more details on the permissions error.
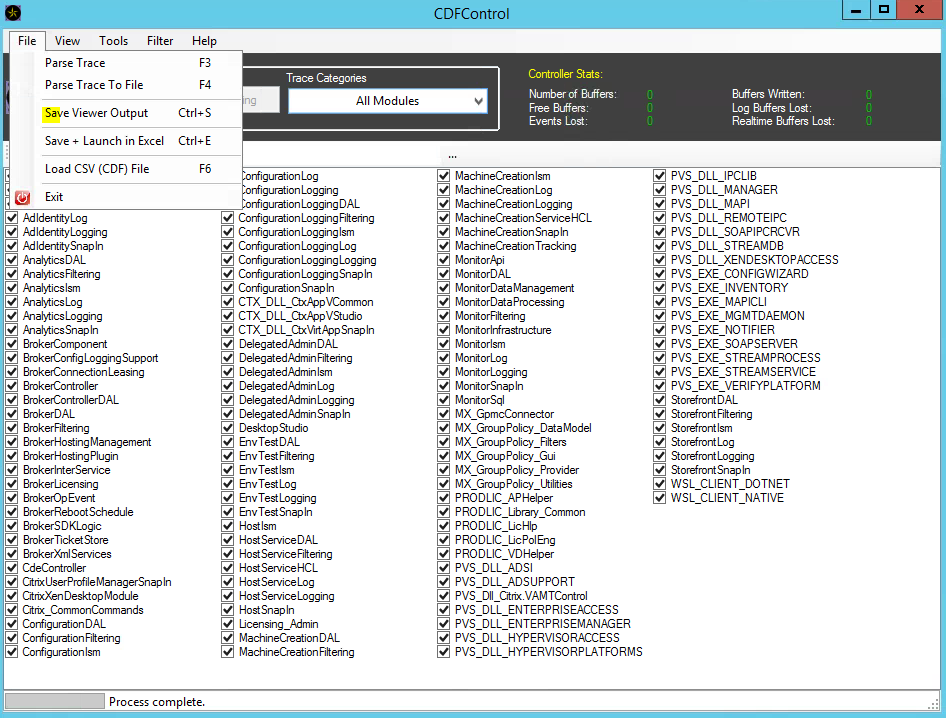
Open CDF Control>Select All Modules. Next click Start Tracing.
![CDF Control All Modules]() Open Citrix Studio on your Delivery Controller and reproduce the error. After you reproduce the error go back to the CDF Control Program and click Stop Tracing.
Open Citrix Studio on your Delivery Controller and reproduce the error. After you reproduce the error go back to the CDF Control Program and click Stop Tracing.
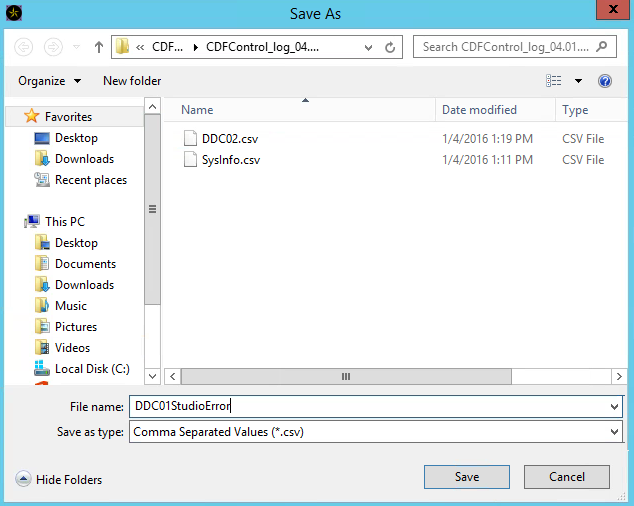
Click Save Viewer Output, type a name for the file and click save.
![Save Viewer Output to CSV CDF Control]()
![Save CSV_Studio Error]()
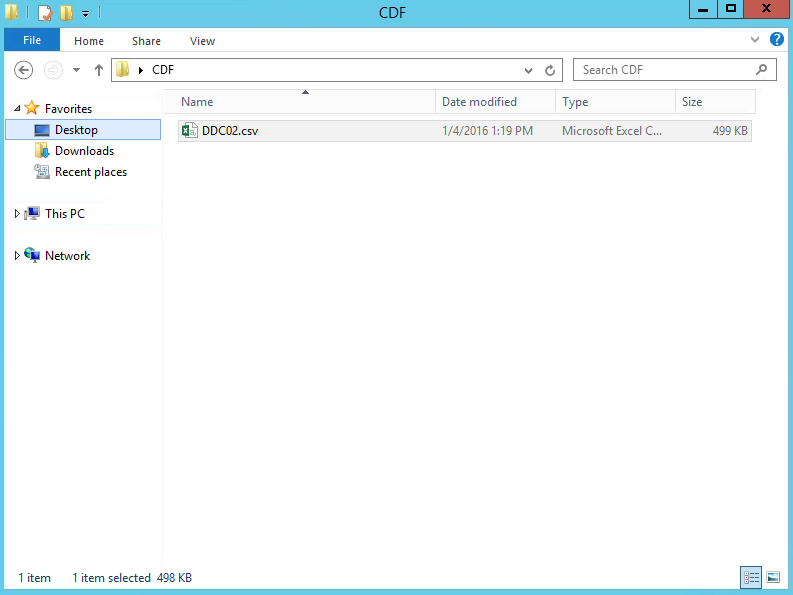
After saving the output, Open the CSV file to view the contents. Scroll down to the approximate time that you reproduced the error to see if there’s any additional information on why your getting “You do not have sufficient permissions to administer this Site using Studio.”
![CDF_Open CSV File]() In our file CDF Trace file, I noticed the error below which shouldn’t be occurring when opening Citrix Studio. The account I was accessing Citrix Studio with, and the Delivery Contollers, and SQL servers are all on the same domain.
In our file CDF Trace file, I noticed the error below which shouldn’t be occurring when opening Citrix Studio. The account I was accessing Citrix Studio with, and the Delivery Contollers, and SQL servers are all on the same domain.
“The trust relationship between the primary domain and the trusted domain failed.”
” at System.Security.Principal.SecurityIdentifier.Translate(Type targetType) at Citrix.ConfigurationLogging.ActiveDirectory.UserNameResolverImplementation.GetSAMNameFromWindows(SecurityIdentifier sid, String& samName)”,””
48,3,2016/01/05 01:40:34:97549,15268,15188,0,ConfigurationLoggingLog,_#dotNet#_,0,,1,CDF_NET_ERROR,”GetSAMNameFromWindows() failed: System.SystemException: The trust relationship between the primary domain and the trusted domain failed.”
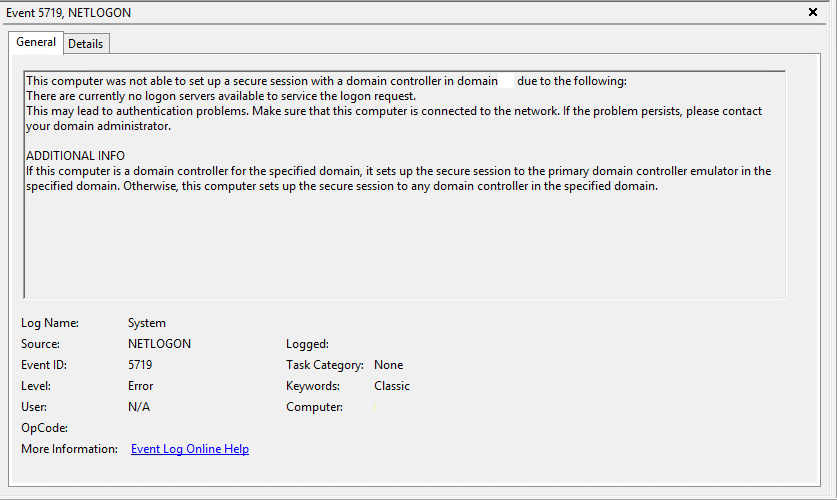
However we in this environment we have a couple domain trusts and after looking through the event logs on our domain controllers it appears that there was a broken trust with another domain. In the System Log there were several Event 5719.
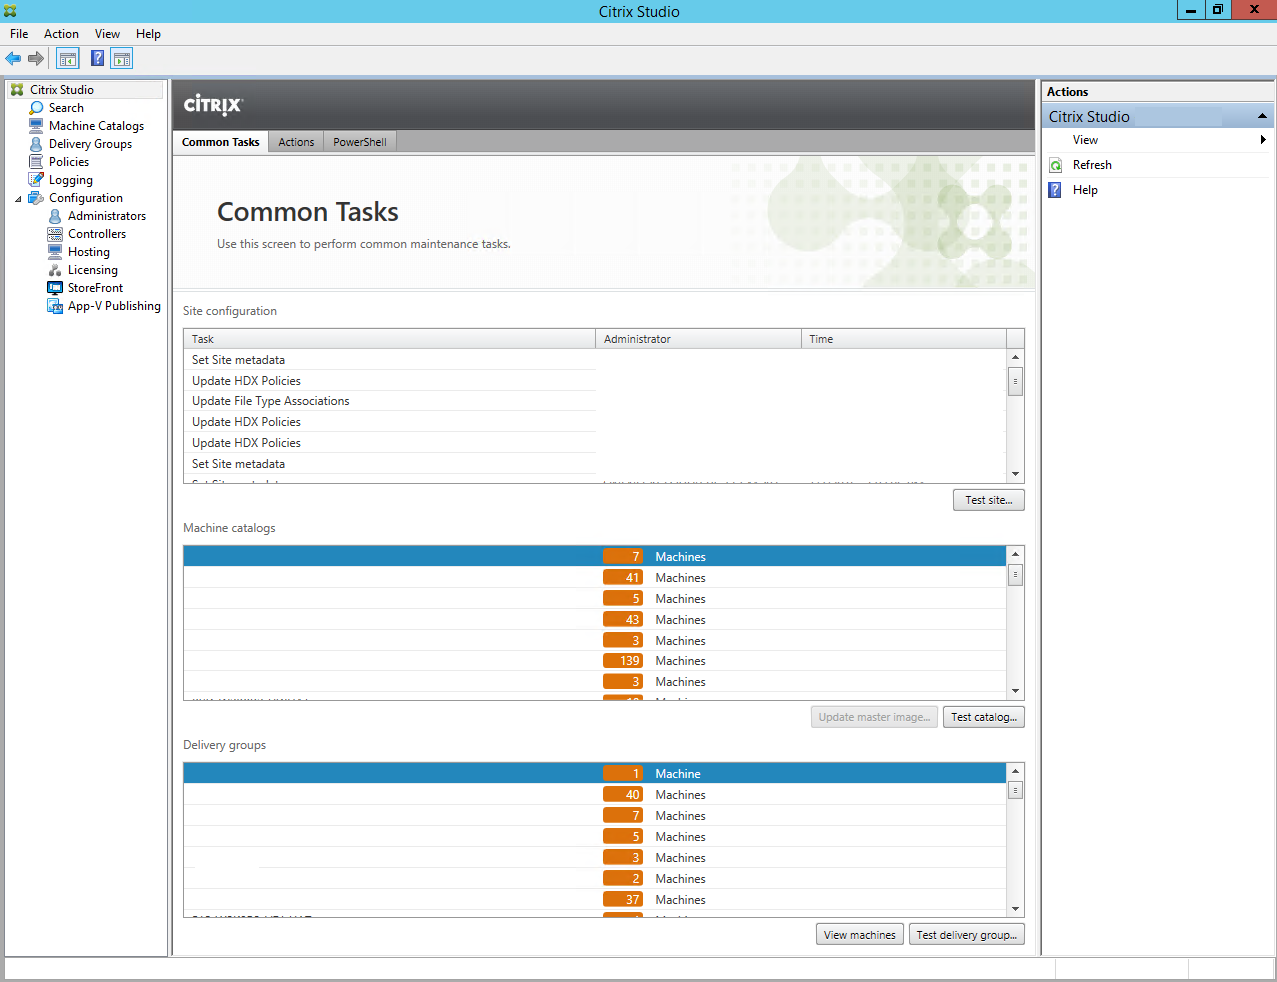
![Netlogon 5719]() After correcting the issue with the Active Directory trust, I reopened Citrix Studio and we were able to successfully manage the XenDesktop site.
After correcting the issue with the Active Directory trust, I reopened Citrix Studio and we were able to successfully manage the XenDesktop site.
I will be updating this post as soon as I find out why a failed domain trust would lock all users out of Citrix Studio. All the XenDesktop Full Admins are members of the same domain as our Delivery Controllers, so the Citrix Delegated Admin service shouldn’t be trying to check the SID of the user against other domains.
![Google+]()
![LinkedIn]()
![Share]()


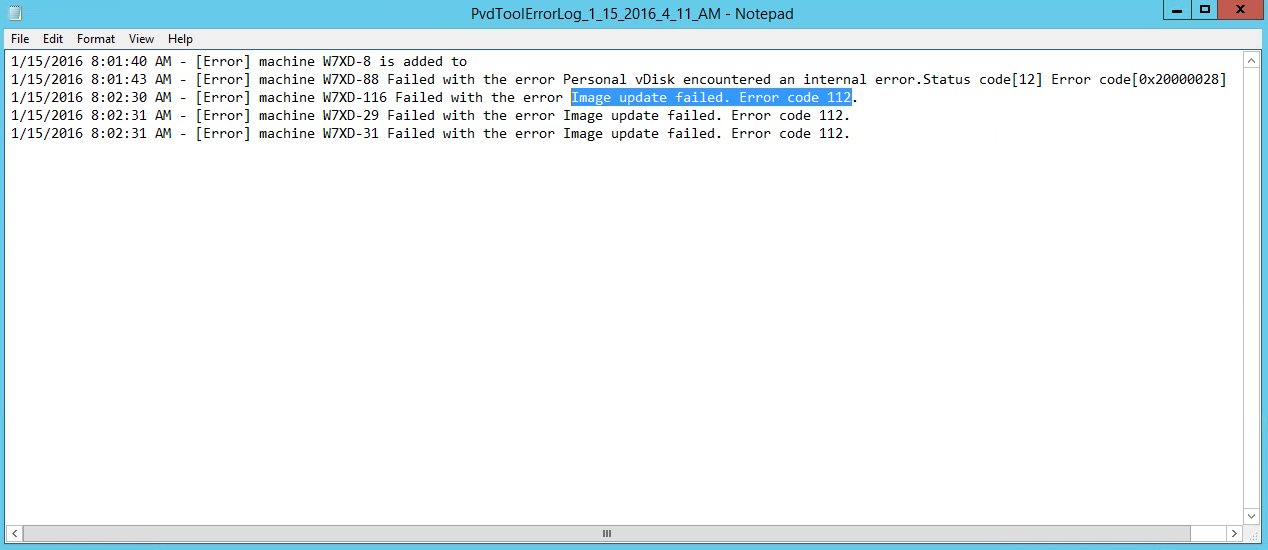
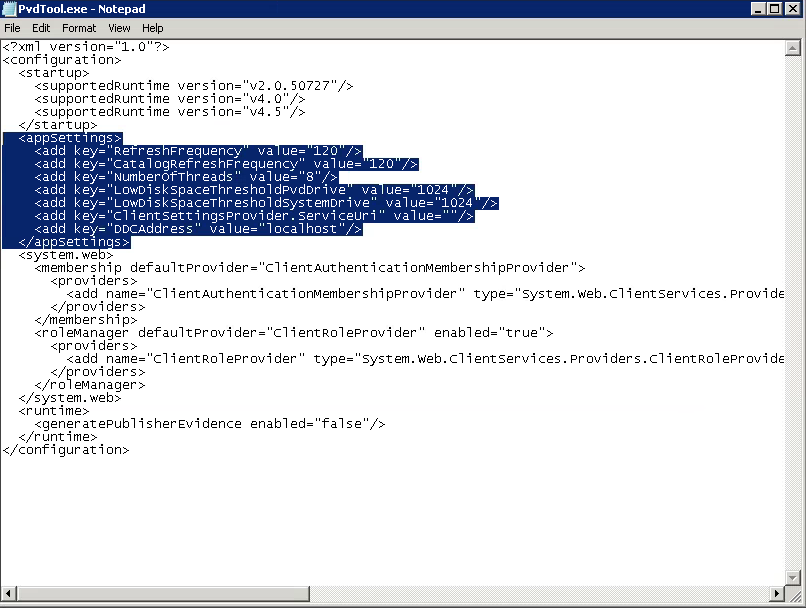
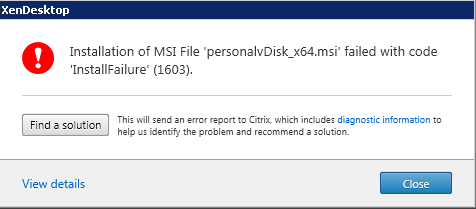
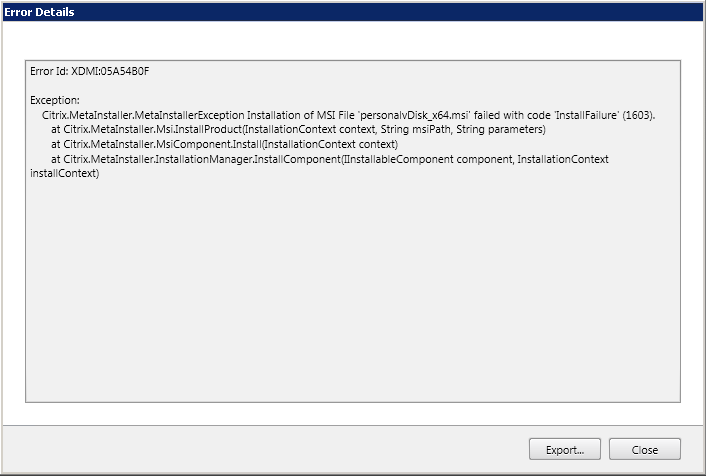
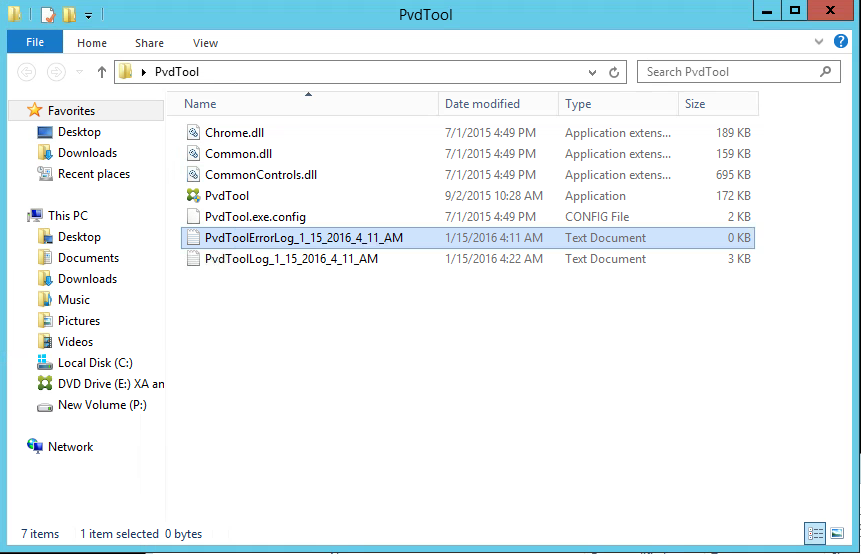 PVDToolLog.txt
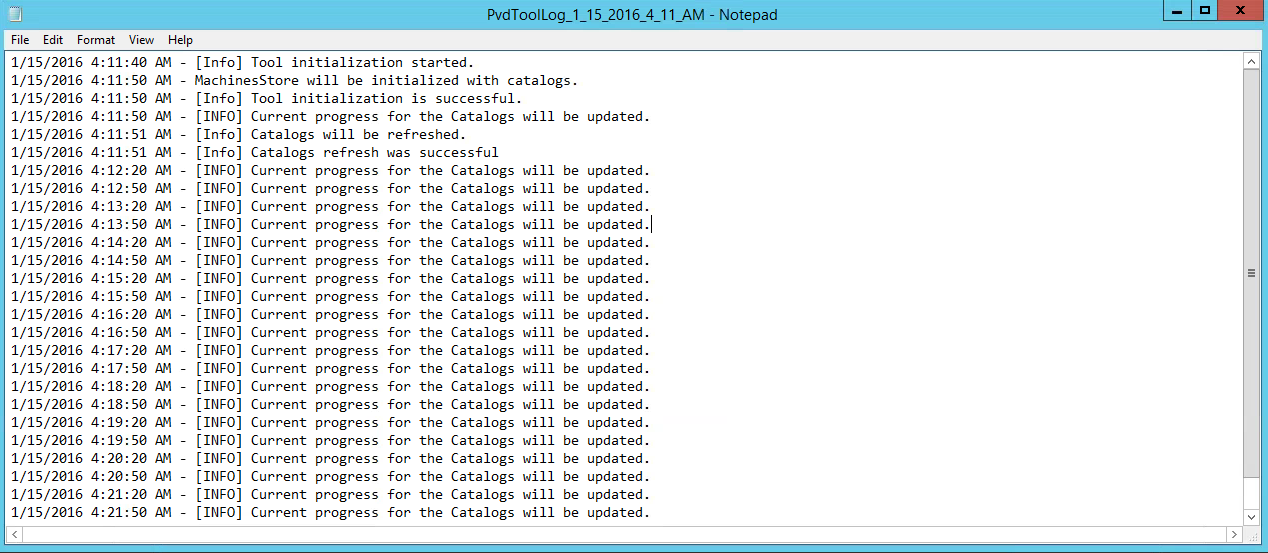 PvdToolErrorLog.txt